

You can personalize a blank album with simple craft supplies: fabric, paper, paint, tape, ribbon, tissue and gold leaf. Stickers are only one option. Which technique suits your album depends mostly on the cover surface. Bare board and cloth take paint, glue and tape easily once primed. Slick vinyl or coated covers need the right adhesive and a quick test first. Below are seven ways to try, each with the materials you'll need, the prep that matters and the limits worth knowing before you start.
1. Wrap the cover in custom fabric

Fabric gives a cover a soft, tactile surface you can feel every time you pick the album up. It also covers scuffs or a design you don't love, and it gives you a base for stamped patterns, initials or dates. Rigid hardcovers are a good starting point because the board holds the fabric taut. Leatherette and other coated surfaces can work too, but prep matters more there. Test your adhesive on a small inside corner first, since glues behave differently on smooth, coated materials than on bare board.
Selecting and preparing textiles
A medium-weight cotton textile is a reliable pick for wrapping hardcovers. It folds neatly at the corners and grips glue well. If you plan to put light fabric over a dark cover, brush on a coat of white acrylic paint first and let it dry fully so the old color doesn't show through. Lay the fabric on wax paper, brush decoupage glue onto it, and let it dry. Then glue it to the front, the spine and the back, in that order, and tuck the extra into the inside covers. For a leather look, a thin, pliable leather like kidskin bends around edges without fighting you.
Stamping for heat-set designs
Regular stamp ink tends to smudge or fade on cloth, so reach for ink made for fabric. Stamp with special ink and press it with a hot iron to set the design permanently, so it holds up to handling. It usually helps to stamp and iron the fabric while it's still flat, before it goes on the album. That way the heat doesn't touch the glue or the board underneath. Follow the ink's label for iron temperature and pressing time, because results vary by brand and fiber. Try a practice stamp on a scrap of the same fabric before committing to the cover.
2. Build interactive paper pockets

Pockets give extra photos, ticket stubs and handwritten notes a place to live without crowding the layout around them. They also make a page interactive, since anyone flipping through can pull something out and read it. A guide to adding pockets to your pages comes down to two basic moves: glue paper on three sides, or lift it with foam tape so there's room behind it. Which one you choose depends on how thick your mementos are. Flat pockets suit slips of paper, and raised ones handle anything bulkier.
1. Flat adhesive pockets
A die-cut journaling card makes a quick flat pocket. In a 2011 tutorial, a Lily Bee card was glued down on three sides with the top edge left open. That leaves a top-loading slot for receipts, a folded note or one small print. Run your adhesive close to the edges so thin items don't slide out the sides or snag on a gap. Keep in mind that a flat pocket has almost no give. Anything thicker than a few sheets will pull at the glue and buckle the card, so save these for paper scraps. A sturdy cardstock offcut works fine if you don't have die-cuts on hand.
2. Dimensional pockets for bulkier items
Thicker keepsakes need space between the pocket and the page. The same pocket tutorial uses a 7x7 block of patterned paper as the pocket front, then lifts it off the background with a roll of foam tape or individual pop dots. Foam tape is double-sided tape with a cushioned core, so it adds height as well as hold. Place it along the sides and bottom and leave the top open. Stacking two layers gives more depth for postcards or folded letters. The trade-off is bulk. Several raised pockets in a row can keep an album from closing evenly, so it helps to spread them across different spreads.
3. Apply transparent watercolor washes

A watercolor wash lays a sheer layer of color over a cover or page, so the texture underneath still shows. Bare covers tend to soak paint in unevenly, which is why a primer goes on first. Gesso is a white primer painters use to prepare a surface before paint. A guide to decorating an album cover points out that none of these techniques require painting experience. Once the gesso coat is down, the cover accepts paint without any special preparation, and it stays the most important step in the process.
1. Priming the surface with gesso
The Homemade cover guide suggests mixing gesso with water in roughly a 2:1 ratio. Brush one thin coat over the front cover in long strokes from top to bottom. Let it dry for at least twenty minutes, and longer if your room is cool. You end up with a matte, slightly toothy surface, meaning it has a fine grip that helps paint and glue hold on. Cloth covers absorb gesso easily. Leatherette may resist a bit, so press firmly with the brush to work it into the grain. One coat is enough for a wash. Leaving the cover open while it dries helps keep the boards from warping.
2. Layering watercolor for depth
Mix diluted watercolor on a spare plate or palette lid before touching the cover. The color should look "noticeably transparent against white paper", so test a swatch on scrap first. Load the brush and pull it across the primed surface in long, slightly uneven strokes. The white gesso shows through and the brush marks add texture, which is what gives the wash its soft look. Let it dry completely before adding more. A title or date in a darker shade of the same color, or in black, can go on with a fine brush and undiluted paint. Once the lettering dries, press the cover under a flat weight for thirty minutes.
4. Design patterns with washi tape
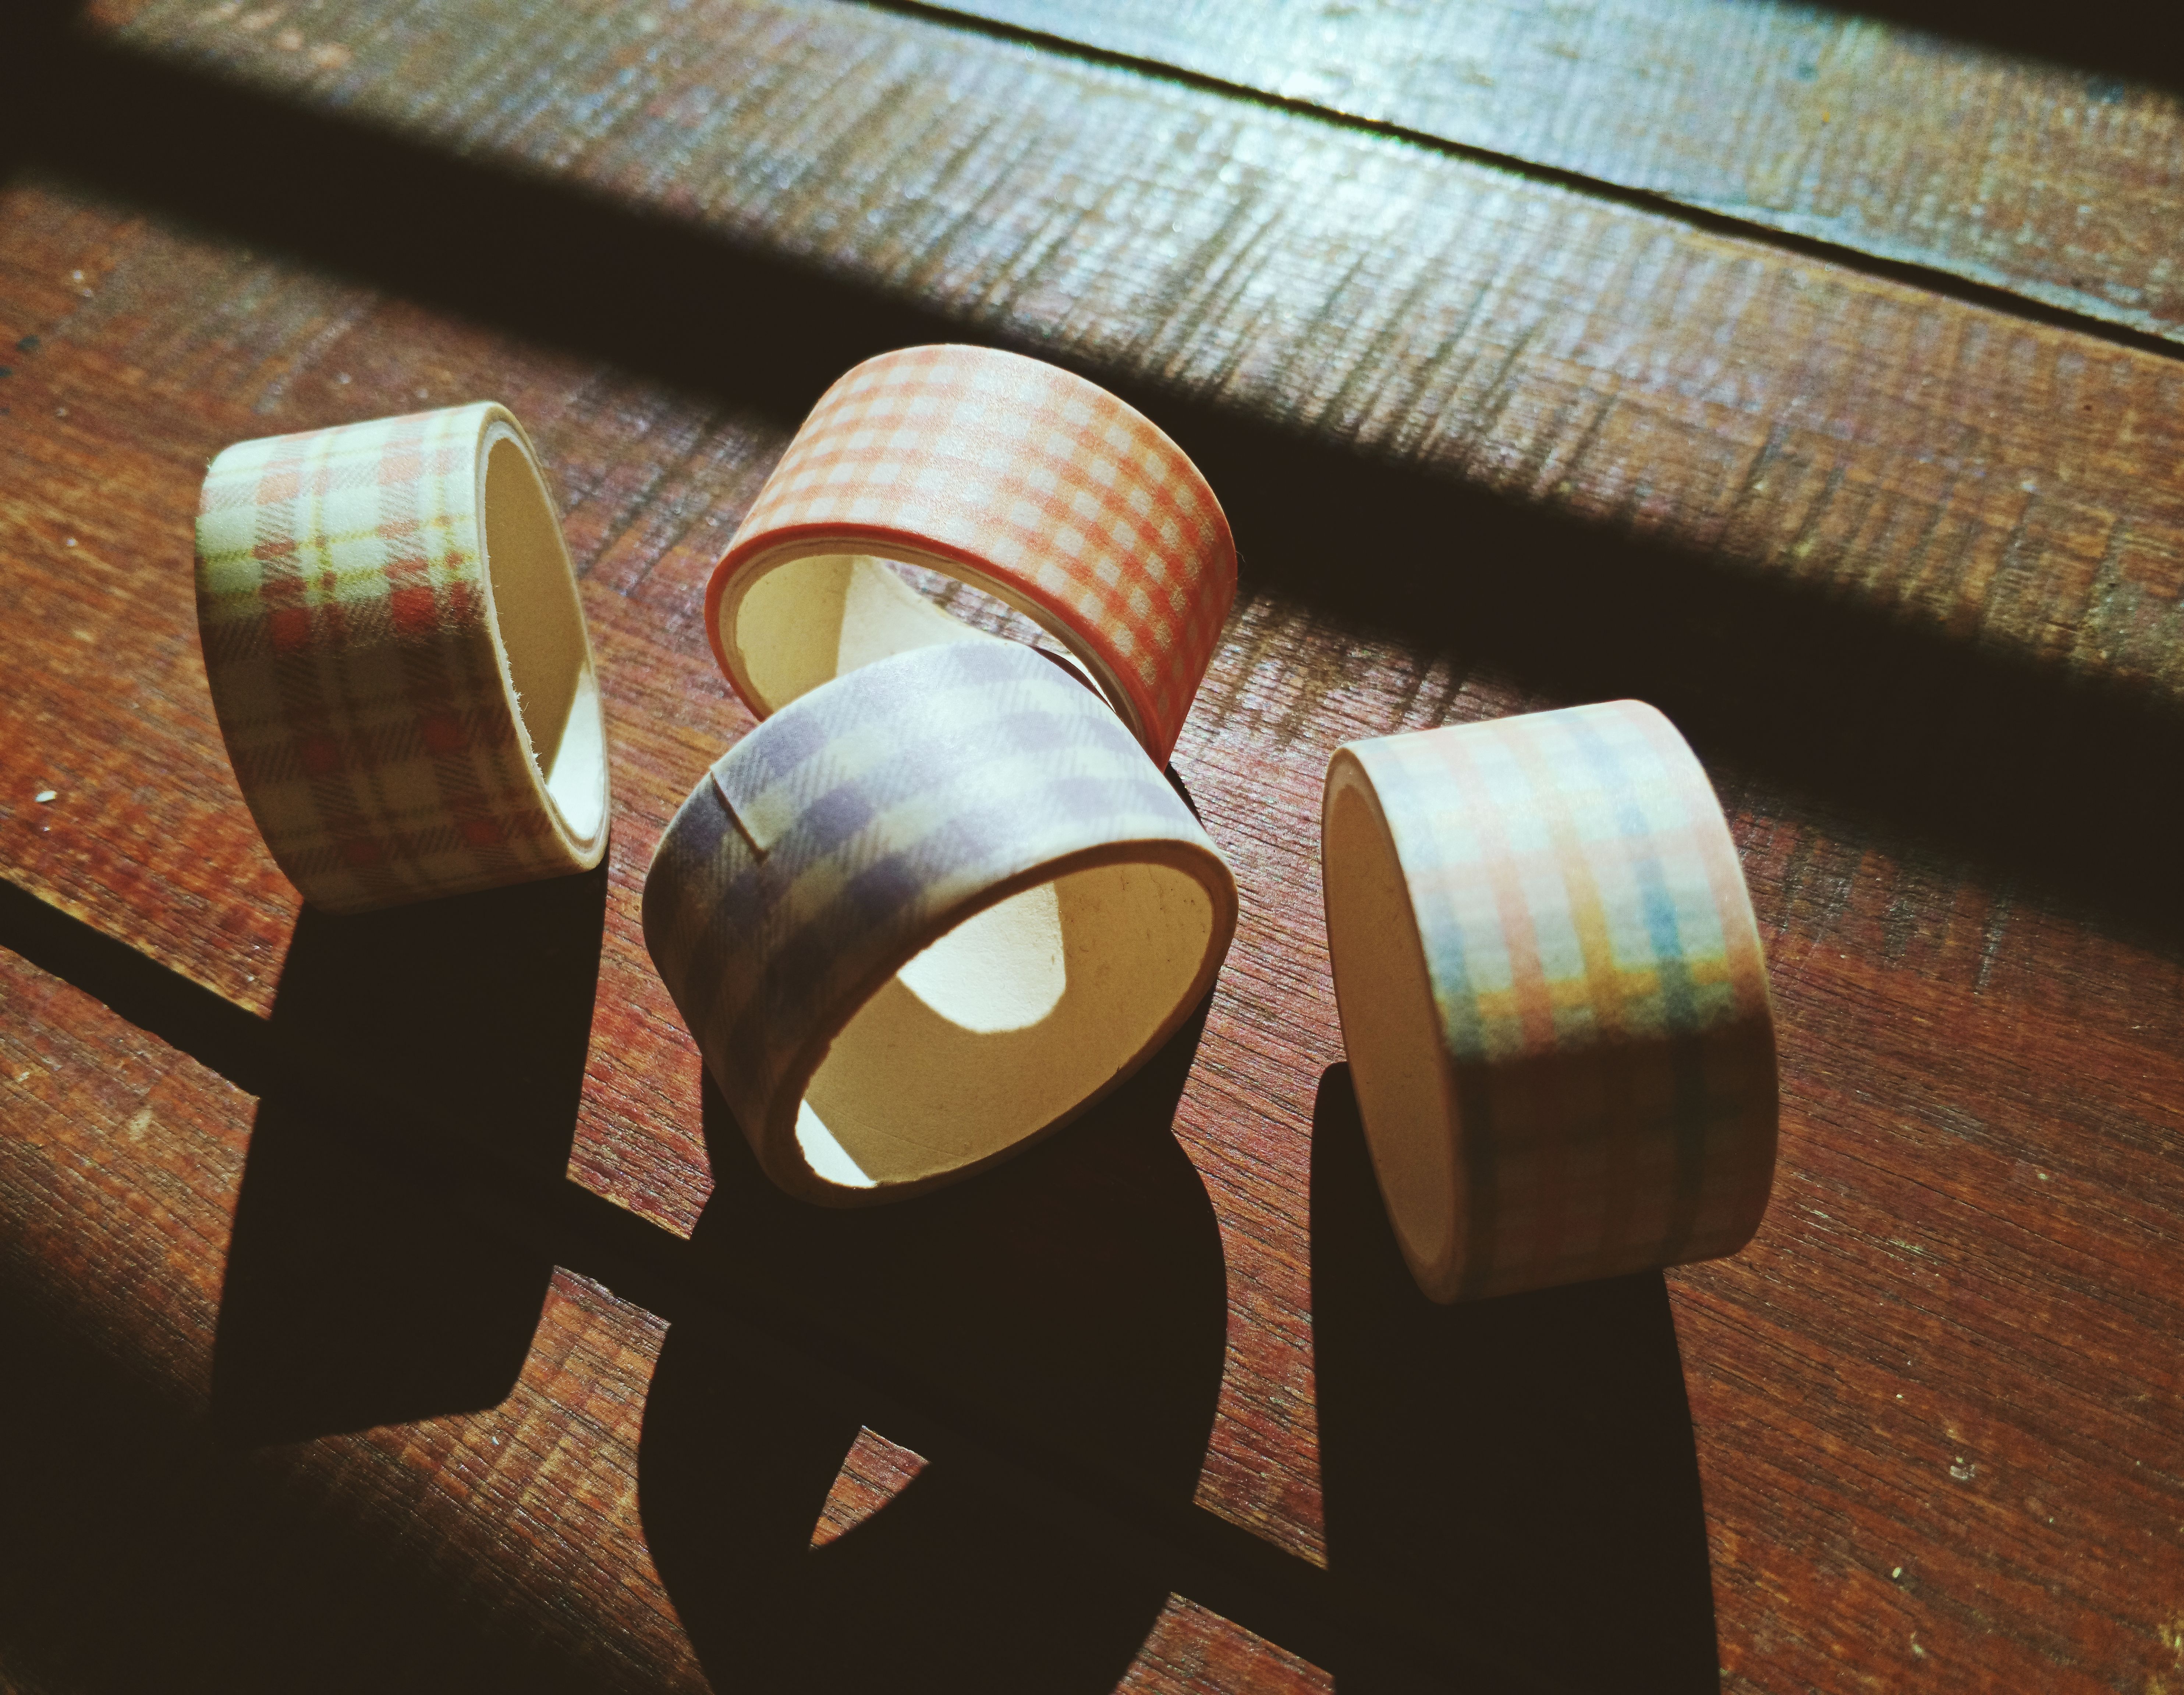
Washi tape is a thin, decorative paper tape sold in rolls of different widths and prints. Strips of it add color and crisp lines to a cover or along page borders, with no paint or glue involved. If you primed the cover for a wash, you're already set up for tape. The Homemade cover guide notes that gesso-primed cloth takes washi tape adhesive well and holds it flat without buckling. On an unprimed cover, try a short test strip somewhere hidden first, since grip varies with the tape brand and how textured the cloth is.
1. Planning geometric layouts
Sketch the layout on scrap paper before any tape touches the cover. According to the Homemade guide, tape lines are difficult to reposition cleanly once pressed down. Horizontal strips at even spacing are the simplest pattern. Diagonal strips create more movement, and a grid of horizontal and vertical strips makes a plaid. Using two or three tape widths and patterns usually looks more interesting than a single roll. Mark the spacing lightly with a pencil and ruler so your strips stay parallel. As you lay each one, press it along its length with a finger, smoothing from the center out toward the edges to push out air.
2. Trimming for a clean finish
Let each strip run past the cover edge while you work. Trimming afterward gives a neater line than cutting tape to length ahead of time. The Homemade cover guide trims the overhanging ends at the cover edge with a craft knife held against a ruler. A fresh blade helps, because a dull one can drag and tear thin paper tape. Line the ruler up with the board edge, hold it firmly and make one steady pass. You can also fold the ends around to the inside cover instead, though stacked layers at the corners add bulk. Check the edges after a day or two and press down any ends that start to lift.
5. Install ribbon closures and bookmarks

Ribbon does two jobs on an album: it keeps the covers shut and it marks the pages you return to most. You can add it to the covers after the fact or build it into the binding. In Japanese stab binding, a style where ribbon is threaded through holes punched along the spine, wikiHow's homemade book guide says to cut the ribbon six times longer than the book's height. A 6-inch tall book needs a 36-inch ribbon. The same guide mentions wool as a stronger, more textured option for the binding.
1. Wraparound closures
A long string or ribbon wrapped around the whole album keeps loose papers and photos from sliding out. WikiHow suggests this wrap as both a secure closure and a place to tuck loose papers and pictures. To size it, wrap the ribbon around the closed album a couple of times and leave enough extra for a knot or bow. Gluing one end to the center of the back cover keeps it from getting lost. Tie it snugly but not tight, since too much tension can dent soft covers or crease page edges. Fabric ribbon may fray or fade over time, depending on the material, how often you handle it and how much light it gets.
2. Inside cover placeholders
A ribbon glued to the top of the inside front cover works as a built-in bookmark. The wikiHow guide lists this as a way to give a book a permanent placeholder. Cut a piece a few inches longer than the page height so the tail hangs out past the bottom edge when the album is closed. Glue about an inch of one end to the inside cover and press it flat under a weight while the glue dries. If you're working with a hardcover like this blank album, a small paper scrap glued over the ribbon end hides it and adds hold. Trim the loose end at an angle to slow fraying.
6. Create texture with tissue paper collage

Tissue paper collage builds color in thin, overlapping layers, so a plain cover ends up with depth and a slightly crinkled feel. Because tissue is so sheer, every overlap mixes the colors underneath into a new shade. The Homemade cover guide recommends two thin coats of diluted gesso for this technique rather than the single coat that works for paint or tape. The extra coat gives the soaked tissue a firmer, more even base to grip. You only need tissue in two or three colors, PVA glue (white craft glue) and a soft brush.
1. Tearing and layering paper
Tear the tissue into irregular pieces about 4 to 8 cm across. Torn edges are soft and blend into each other, while cut edges stay sharp and look obvious. Mix PVA with water at a 1:1 ratio. Brush a thin coat onto one small area of the cover, lay a piece of tissue on it, then brush more diluted glue over the top. Smooth out big bubbles with the brush, but leave small wrinkles, since they add texture. Keep working in small sections, overlapping pieces until the whole cover is covered. Give it at least thirty minutes to dry. Then add a second layer in another color if you want more depth.
2. Sealing for durability
A final coat bonds all the layers together and helps keep edges from lifting or peeling. The Homemade guide uses one more coat of the 1:1 PVA mix over everything as a decoupage seal, which also adds a slight sheen. For a tougher surface, brush on a thin coat of Mod Podge or urethane instead. Keep it thin. Heavy coats can stay tacky or pool in the wrinkles. A seal helps against moisture and handling, but tissue is still fragile, and how well it holds up depends on humidity and how often the album gets picked up. Once fully dry, press the cover under a flat weight overnight.
7. Add metal leaf to non-porous surfaces

Gold leaf is metal pounded into sheets so thin they lift with a breath, and most craft packs are imitation leaf made from brass. A few flecks or a broken band of it catch the light and give a cover a worn, metallic look. Smooth covers like vinyl and acrylic are non-porous, meaning they don't absorb liquids. Paint and regular glue tend to bead up or peel on them. Leaf still works on these surfaces if you pick the right adhesive and accept a few limits on where it lasts best.
1. Working with vinyl and acrylic
Start by wiping the cover with a clean, lint-free cloth to remove dust and finger oils, since both keep adhesive from grabbing. On a slick surface, use an adhesive made for metal leaf, often sold as gilding size, or a glue labeled for plastics. Test it on a hidden corner first. Brush it thin, wait until it turns tacky as the label directs, then lay the leaf on and press it with a soft dry brush. Brush away the loose flakes. Flexible vinyl bends, and leaf can crack along those lines, so keep your design away from the spine hinge. A clear sealer can help, but check that it's compatible with plastic before using it.
2. Distressed foiling techniques
A plain glue stick is enough for a weathered look on paper pages or paper-covered boards. The wikiHow homemade book guide relies on a glue stick to attach decorative sheets to covers, and that same light, controllable layer suits leaf. Dab the glue in random patches, streaks or along an edge rather than coating a full area. Lay a sheet of leaf over it, press gently and rub the excess off with a dry brush. The leaf stays only where the glue sits, leaving gaps that read as age and wear. Glue stick grips paper well but tends to slip on vinyl or acrylic, so save this method for porous spots.
Expanding Your Creative Options
Fabric, tape, tissue, ribbon, pockets, paint and foil each change how an album looks and feels, and they combine well on one plain cover. Pick the method that matches the supplies on your desk, and test it on a hidden corner first. Once one technique works for you, your next trip or batch of instant prints can go into an album that already feels like yours.